Pertronix Ignitor II & Flame Thrower Ignition Coil Installation
I bought the parts to do this swap a couple of years ago, but just recently did the conversion.Here are the part numbers:
Flame thrower II coil - Part #45001
Ignitor II - Part # 91162A
Flame thrower II 7.00mm stock look plug wires - Part # 706101
and a PDF of the Installation Instructions:
1162A Instruction Sheet.pdf
Below are some pictures that I took during the install. These pictures do not replace the provided instructions, but may be useful as a reference while doing the conversion, or may convince/disuade someone from doing the swap themselves. The numbered steps below refer to the steps in the instructions that are provided with the kit.
It only took about 30 minutes to do this part of the HEI conversion. To get 12 volts to the coil though, took much longer.
[WARNING/DISCLAIMER: This page documents my upgrade/conversion and does not replace the manufacturer's instructions in any way. If you choose to use this information, it is at your own risk. I take no responsibilty for the results. Modifying your automobile in any fashion can have dangerous and/or deadly consequences. You should always have a certified mechanic check your work.]

|
| Step 2: Distributor Cap and rotor removal |
|
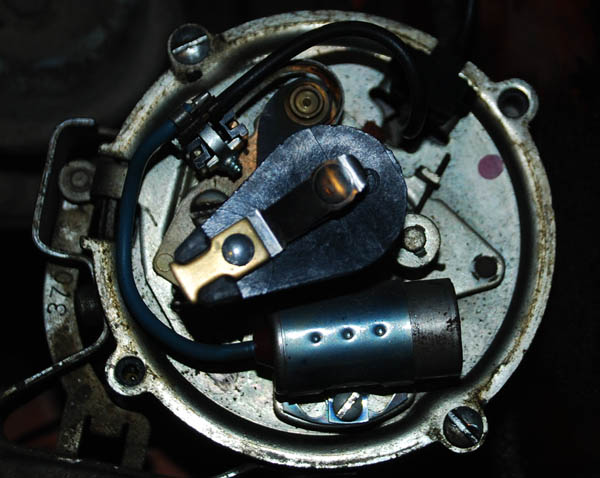
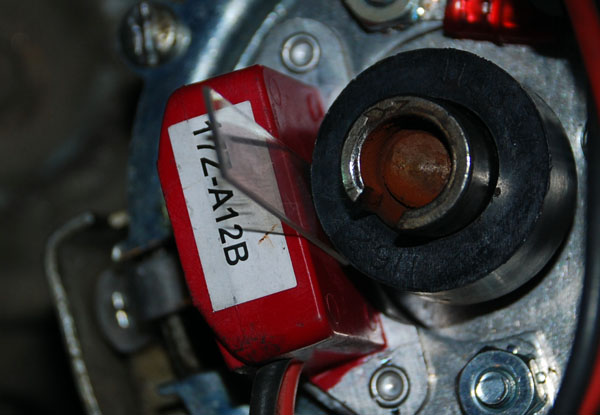
Step 3: Removal of negative points wire from the coil
I misread the instructions and removed the wire at the points |
|
|
|
|
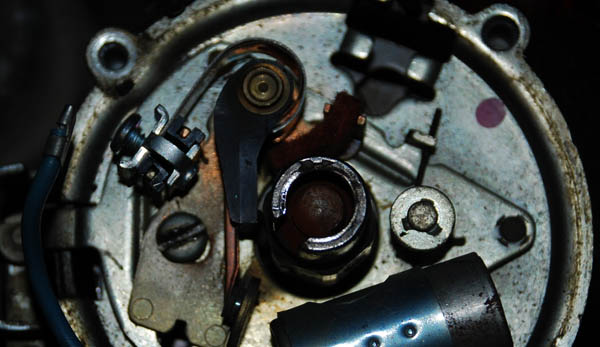
| Step 5: Removal of the breaker plate |
|
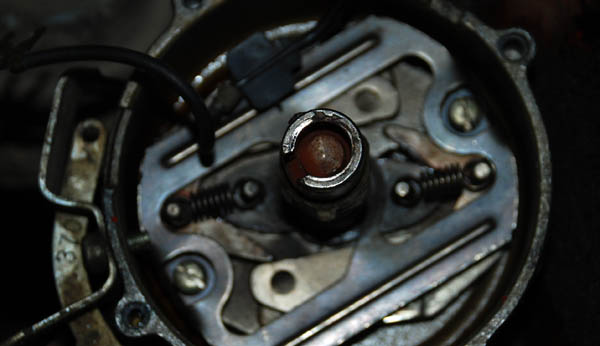
Steps 7-13: Adapter plate, module ,and ground wire installation |
|
|
|
|
| Steps 14-15: Magnet sleeve installation and air gap check with provided feeler gauge |
|
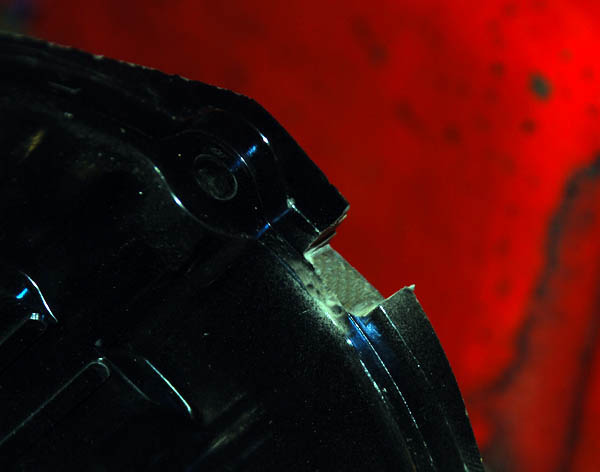
Steps 18-19: Slot cut into distributor cap with dremel |
|
|
|
|
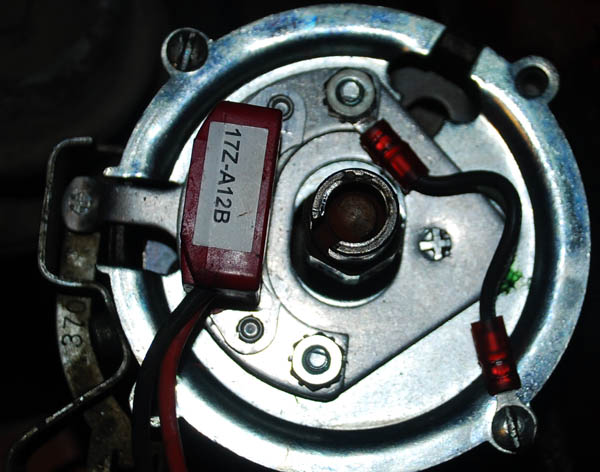
| Step 20-21: Ignitor II wiring installation in the distributor housing |
|
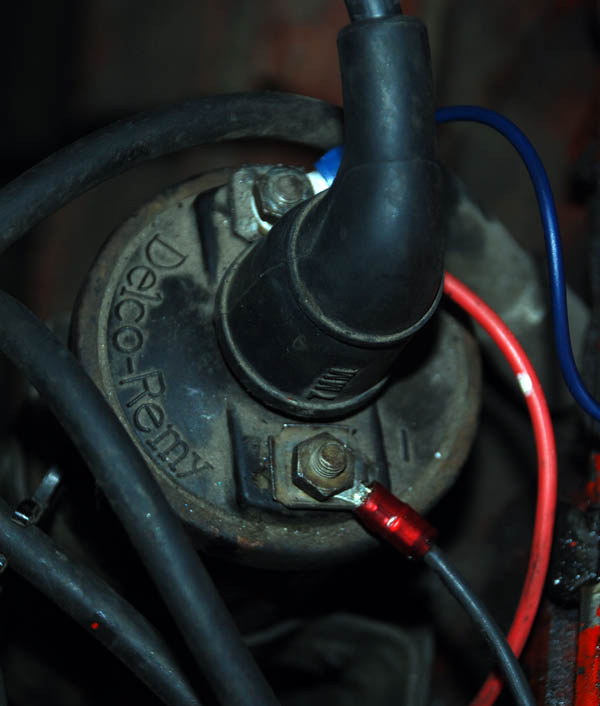
Ignitor II wiring connected to the ignition coil |
|
|
|
|
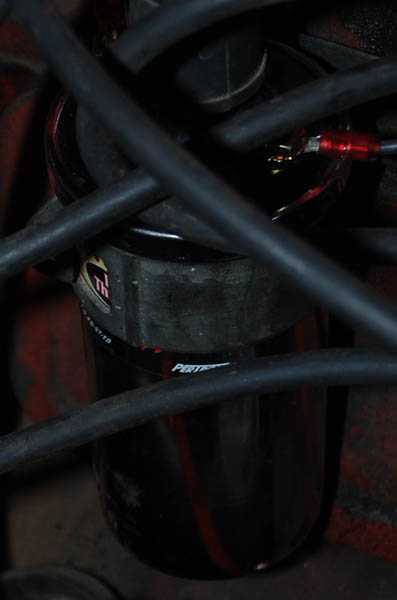
At this point, I removed the stock plug wires and installed Flamethrower II plug wires. I then re-connected the battery (disconnected in step 1) and I started the car to see if evertything worked. After cofirming that I installed the until correctly, I removed the stock igintion coil and replaced it with the Flamethrower II ignition coil. |
|
|
|
I drove the car a couple of miles after the install and it seems to be running great. The points that I pulled out were really worn and way over due for a change. I put the old coil and other parts I removed in a box in the trunk of the car, just in case I run into some problems while on the road.
Before doing this install, I used my voltmeter to see how many volts I was getting at the coil. I was getting 12 volts, but was confused because I had been told I would need to replace the resistor wire when doing this conversion. Since I was getting 12 volts, I assumed that the resistor wire had been swapped out by the previous owner. After doing some reading and more research as I completed my engine swap (the 194 ci L6 pictured above was swapped out for a 292+ ci L6), I was told that the resistor wire doesn't immediately drop the voltage, thus making my assumption wrong.
Before attempting to run the Pertronix unit with the 292, I made the necessary modifications to the wiring harness. You can see what I did by clicking here.
If you have any questions, feel free to contact me by clicking here.
|
|